
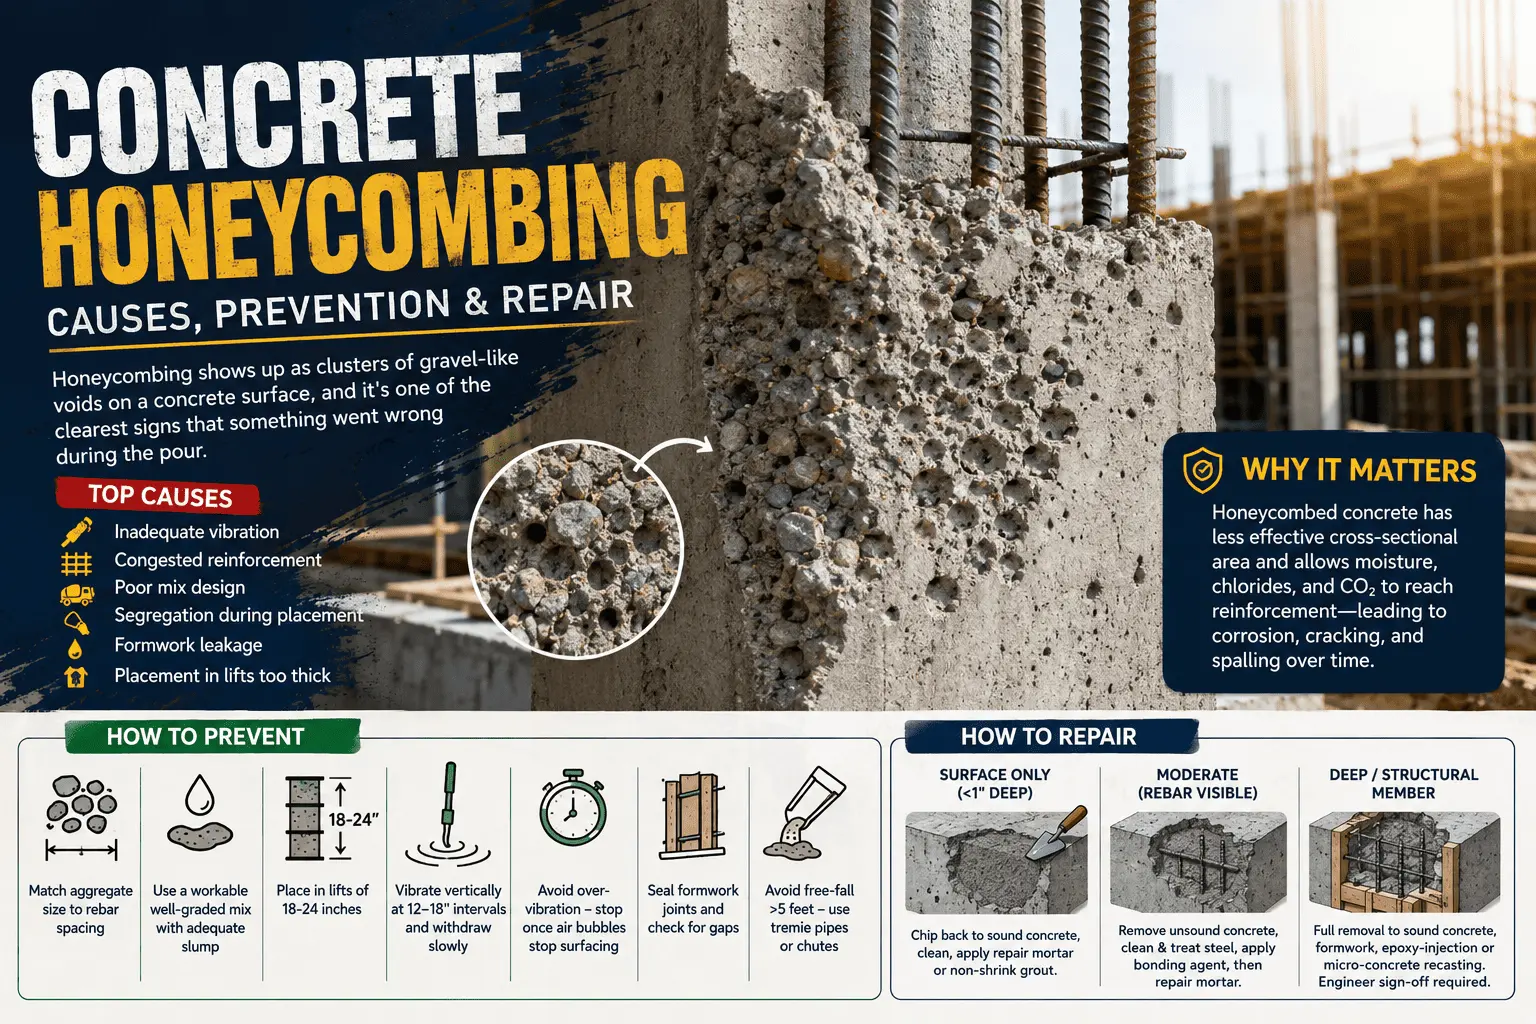
Concrete Honeycombing: Causes, Prevention & Repair
Strip the forms and there it is: a patch of concrete that looks like exposed gravel instead of a smooth face. That’s honeycombing, and it’s rarely just a cosmetic headache. Once those voids are open, water and chlorides have a straight shot at your reinforcement. Here’s what actually causes it, what stops it, and which repairs hold up versus which ones just look fixed for a year or two.
What Causes Concrete Honeycombing?
At its core, honeycombing is a paste problem. The mortar never made it all the way around the coarse aggregate, so you’re left with open, interconnected pockets instead of a solid face. It’s rarely one single mistake. Usually it’s two or three of these stacking on top of each other:
Inadequate vibration, so coarse aggregate settles before the paste can flow around it
Rebar cages packed too tight for the aggregate size you’re using
A mix that’s short on cement, has the wrong water-cement ratio, or uses aggregate too large for the section
Segregation from dropping concrete too far, or over-vibrating after it’s already consolidated
Formwork that leaks grout through joints nobody sealed properly
Lifts poured too thick for the vibrator to actually reach the bottom
If you want the honest, boring truth: most cases on real job sites come down to a tight rebar cage and a vibrator that couldn’t get where it needed to go. Beam-column joints are the usual suspects. There’s just no room in there, and the crew either rushes it or hopes for the best.
Why Honeycombing Weakens a Structure
Less solid concrete means less cross-section actually carrying load, and that math doesn’t care whether the void was an accident. Worse, those exposed pockets are a highway for moisture, chlorides, and CO2 straight to the rebar, which speeds up corrosion long before you’d ever notice a crack forming. A column or beam can look fine from ten feet away while honeycombing near the surface is already eating into its durability. That’s the part that catches people off guard — the damage isn’t always where you can see it.
How to Prevent Concrete Honeycombing
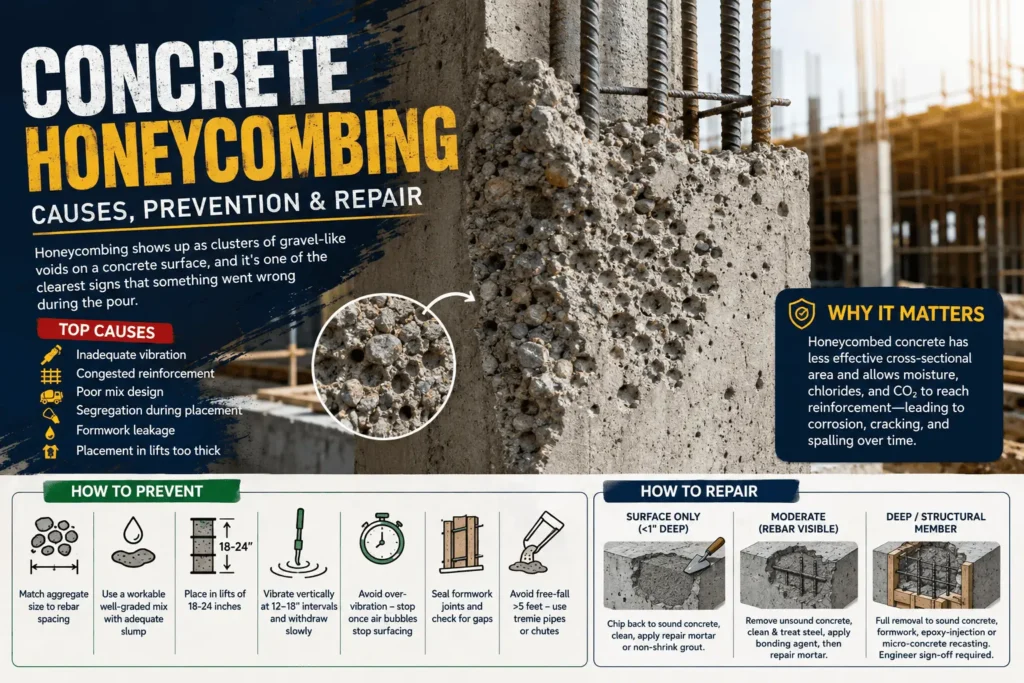
Get the mix, the placement, and the concrete compaction right, and honeycombing mostly goes away on its own. It’s not complicated. It just takes discipline nobody wants to enforce on a tight schedule.
Size your aggregate against the tightest rebar spacing on the job, not the average spacing
Use a workable, well-graded mix with slump that actually matches how congested the section is
Pour in 18–24 inch lifts and vibrate each one before the next goes in
Insert the vibrator vertically every 12–18 inches and pull it out slowly so trapped air can escape
Stop vibrating once bubbles stop surfacing — keep going and you’ll cause segregation instead of fixing it
Check formwork joints for gaps before the pour, not after you’re already cleaning up a leak
Skip free-fall placement past about 5 feet; use a tremie pipe or chute for anything deeper
How to Repair Honeycomb Concrete
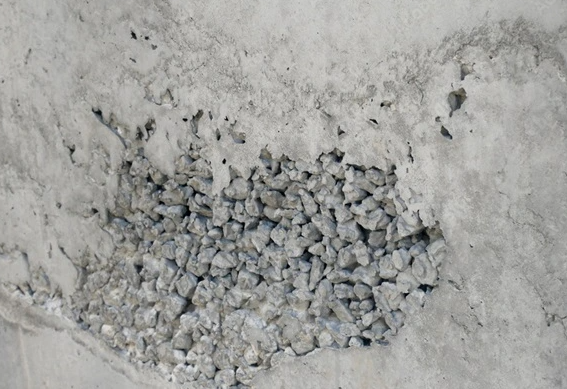
How you repair it depends entirely on how deep it goes and whether you can see rebar in there. A quick surface patch and a full structural repair are two different jobs, and treating a deep void like a shallow one is exactly how honeycombing repairs come back to haunt you a second time.
| Severity | Typical Repair | Notes |
| Surface only, less than 1 inch deep | Chip back to sound concrete, clean, apply repair mortar or non-shrink grout | No structural risk if rebar isn’t exposed |
| Moderate, rebar visible | Remove unsound concrete, clean and treat steel, apply bonding agent, then repair mortar | Corrosion inhibitor on exposed rebar is worth the cost |
| Deep or structural member | Full removal to sound concrete, formwork, epoxy-injection or micro-concrete recasting | Requires a structural engineer’s sign-off |
Anything past a shallow patch job means removing concrete back to solid material first. Tap it with a hammer; you’ll hear the difference between sound concrete and the loose stuff. Clean it out, dampen the surface or use a bonding agent, then use a repair material that shrinks and behaves like the original concrete did. Epoxy injection is a good tool for narrow voids in load-bearing members, but don’t reach for it as a shortcut when the honeycombing is extensive. At that point you need removal and recasting, not injection.
When to Call a Structural Engineer
If honeycombing shows up in a column, beam, shear wall, or transfer slab, that’s not a call to make on your own. Same goes for anything covering more than roughly 10% of a member’s cross-section. Bring in a structural engineer. They can tell you whether what’s left still carries the design load, and they’ll specify the repair instead of you guessing and hoping it holds.
FAQ
What does concrete honeycombing look like?
Pockets of exposed coarse aggregate with the mortar paste missing around them, giving the surface a rough, cellular look, sort of like an actual honeycomb.
Is honeycombed concrete structurally unsafe?
Depends where it is. A shallow patch on a non-structural wall is usually just cosmetic. The same thing on a column or beam is a different story, and it needs an engineer to look at it.
Can honeycombing be repaired without demolishing the element?
Most of the time, yes. Once you’ve removed the unsound concrete and prepped the area properly, patching mortar, non-shrink grout, or epoxy injection will handle surface and moderate cases in place.
Does honeycombing always mean poor workmanship?
Pretty much, yes. Inadequate vibration, a mix that doesn’t suit the section, or reinforcement packed too tight — all of it comes down to planning and supervision that didn’t quite catch the problem in time.
How much does honeycomb concrete repair cost?
It swings a lot based on depth and location. A surface patch is cheap. A structural repair with removal, formwork, and an engineer signing off costs a lot more, and that’s before you factor in schedule delays.
Bottom Line
Most honeycombing is preventable. Get the mix right, vibrate properly, and think about rebar congestion before you’re already pouring. When it does happen anyway, match the repair to how bad it actually is rather than slapping mortar over it and calling it done. That’s the difference between a repair that lasts and one you’ll be doing again in two years.